After completing the tutorial section and making their way down to the surface, The Legend of Zelda: Tears of the Kingdom players will find that the game really starts to open up for them. This becomes even more true once they unlock the Paraglider, which can make traversing the game's huge open world considerably easier.
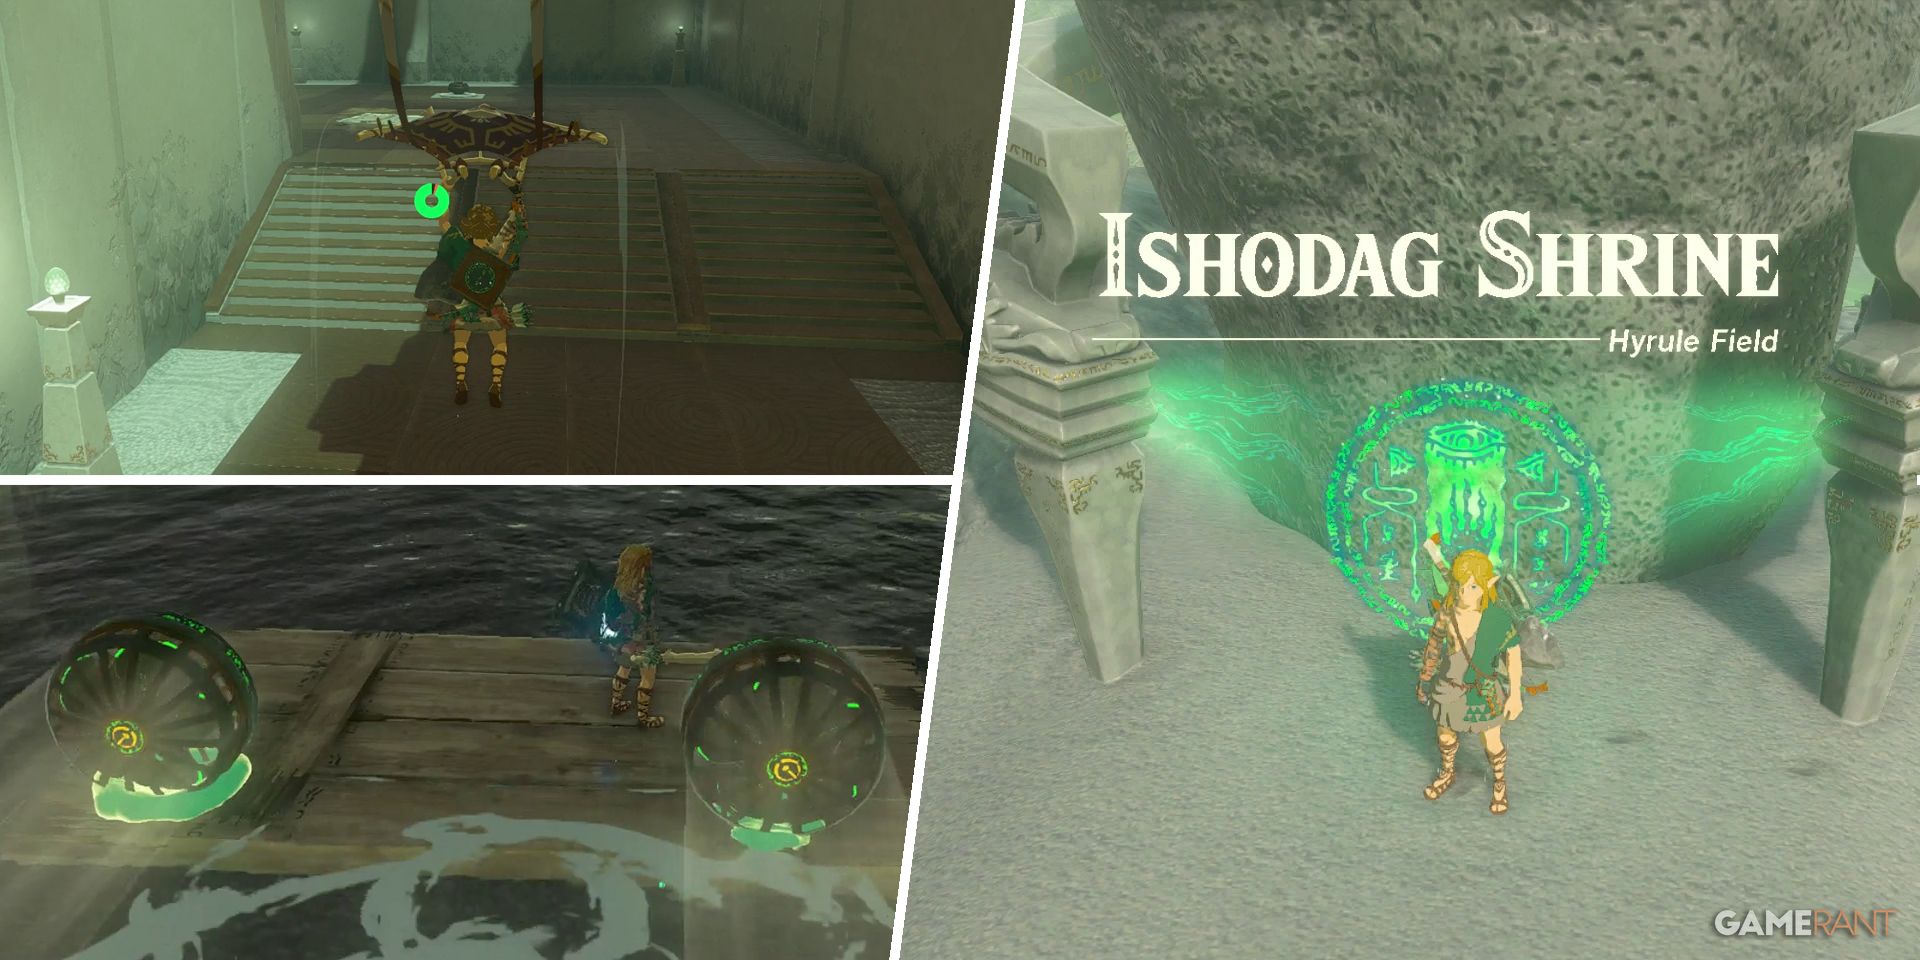
The Paraglider isn't just useful for navigating Hyrule either, but also for taking on some of the many shrines in The Legend of Zelda: Tears of the Kingdom. A great example of this is the Ishodag Shrine (A Windy Device), which has players using fans in order to navigate obstacles and make their way toward the goal.
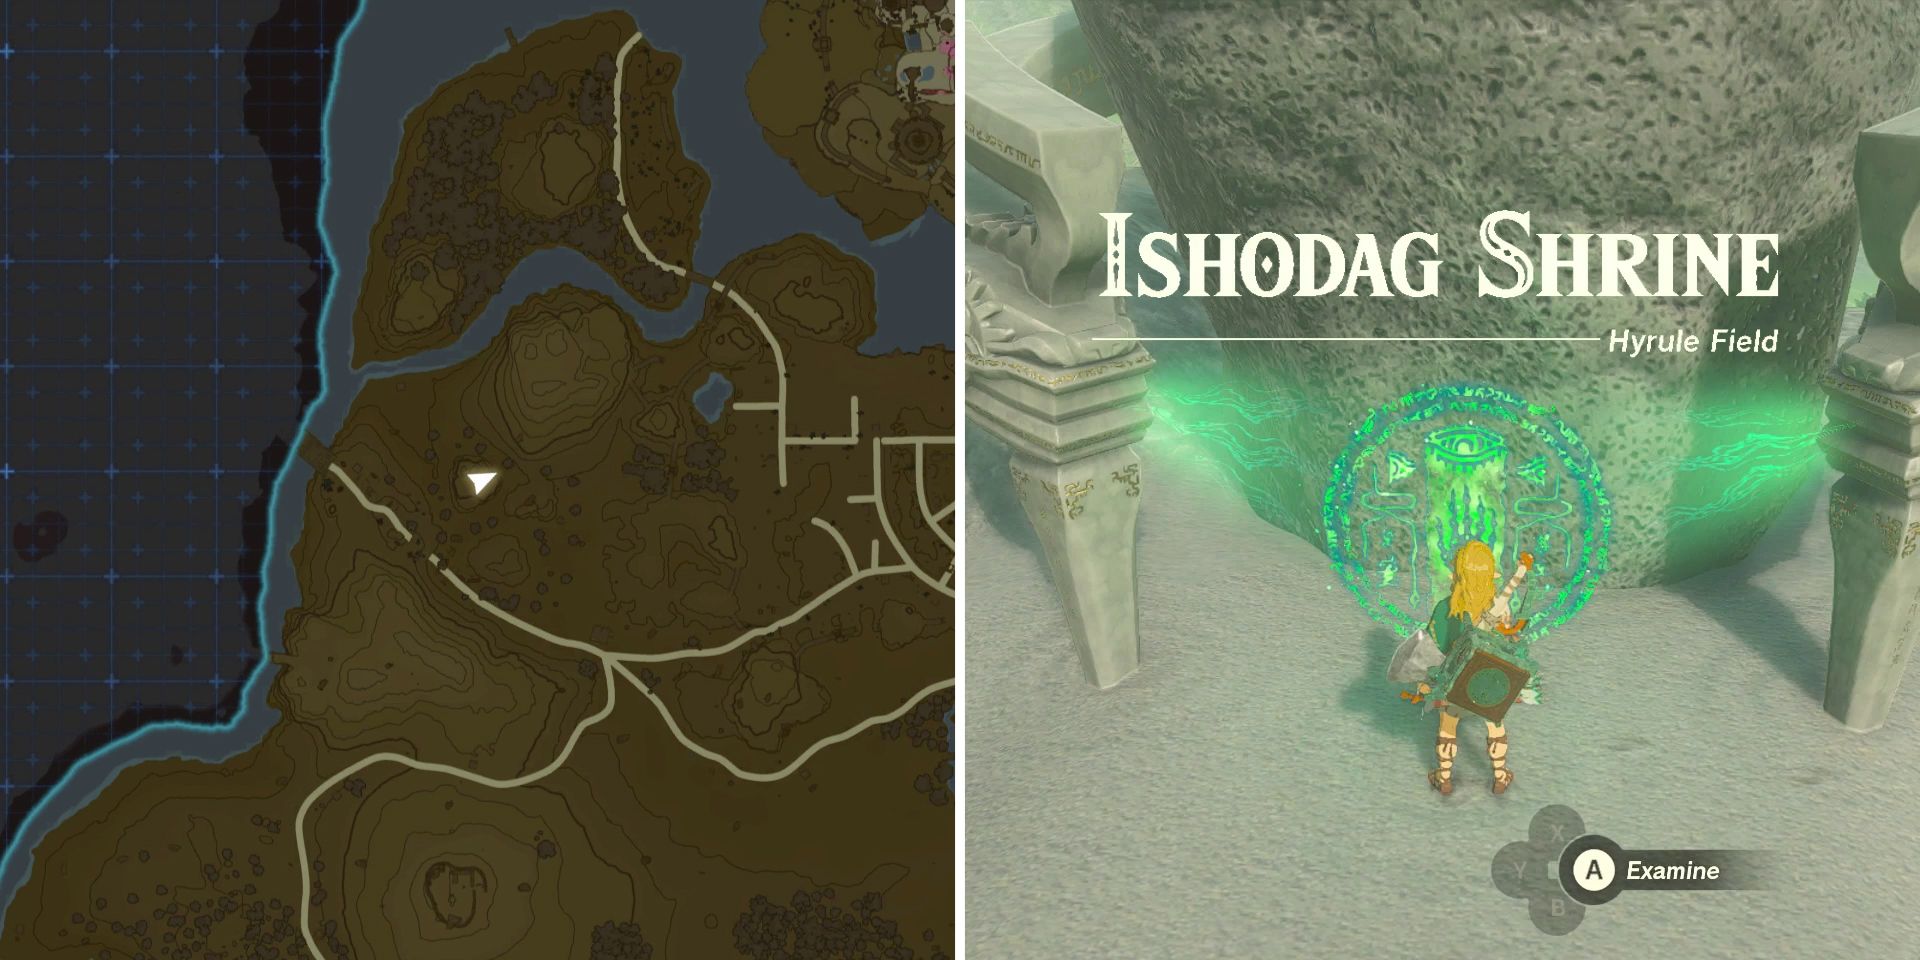
Ishodag Shrine Location
Players can find the Ishodag Shrine in Hyrule Field, northwest of Lookout Landing, and to the west of Central Square and the Hyrule Castle Town Ruins. The area surrounding the shrine is called Quarry Ruins, which should be easy enough to find for those who have revealed the map using the Lookout Landing Skyview Tower. For those who haven't, or anybody still having trouble, the coordinates for the Ishodag Shrine are -0877, 0423, 0049.
Ishodag Shrine Walkthrough
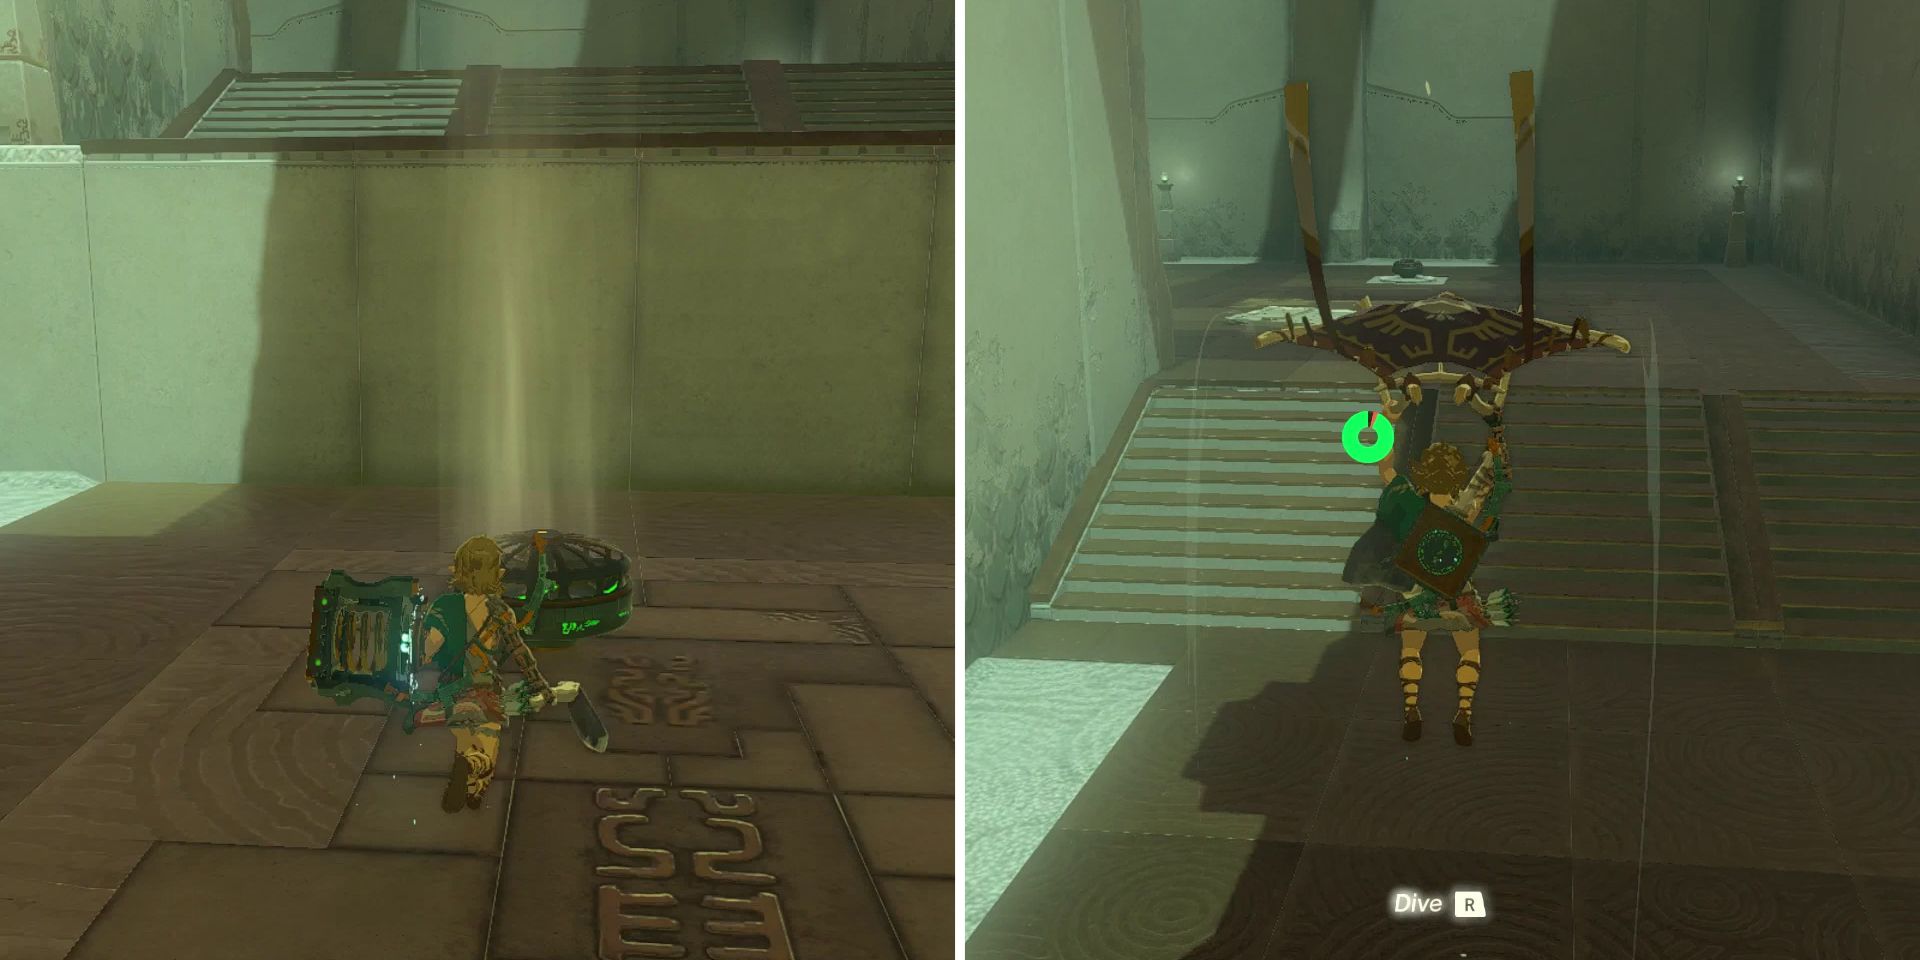
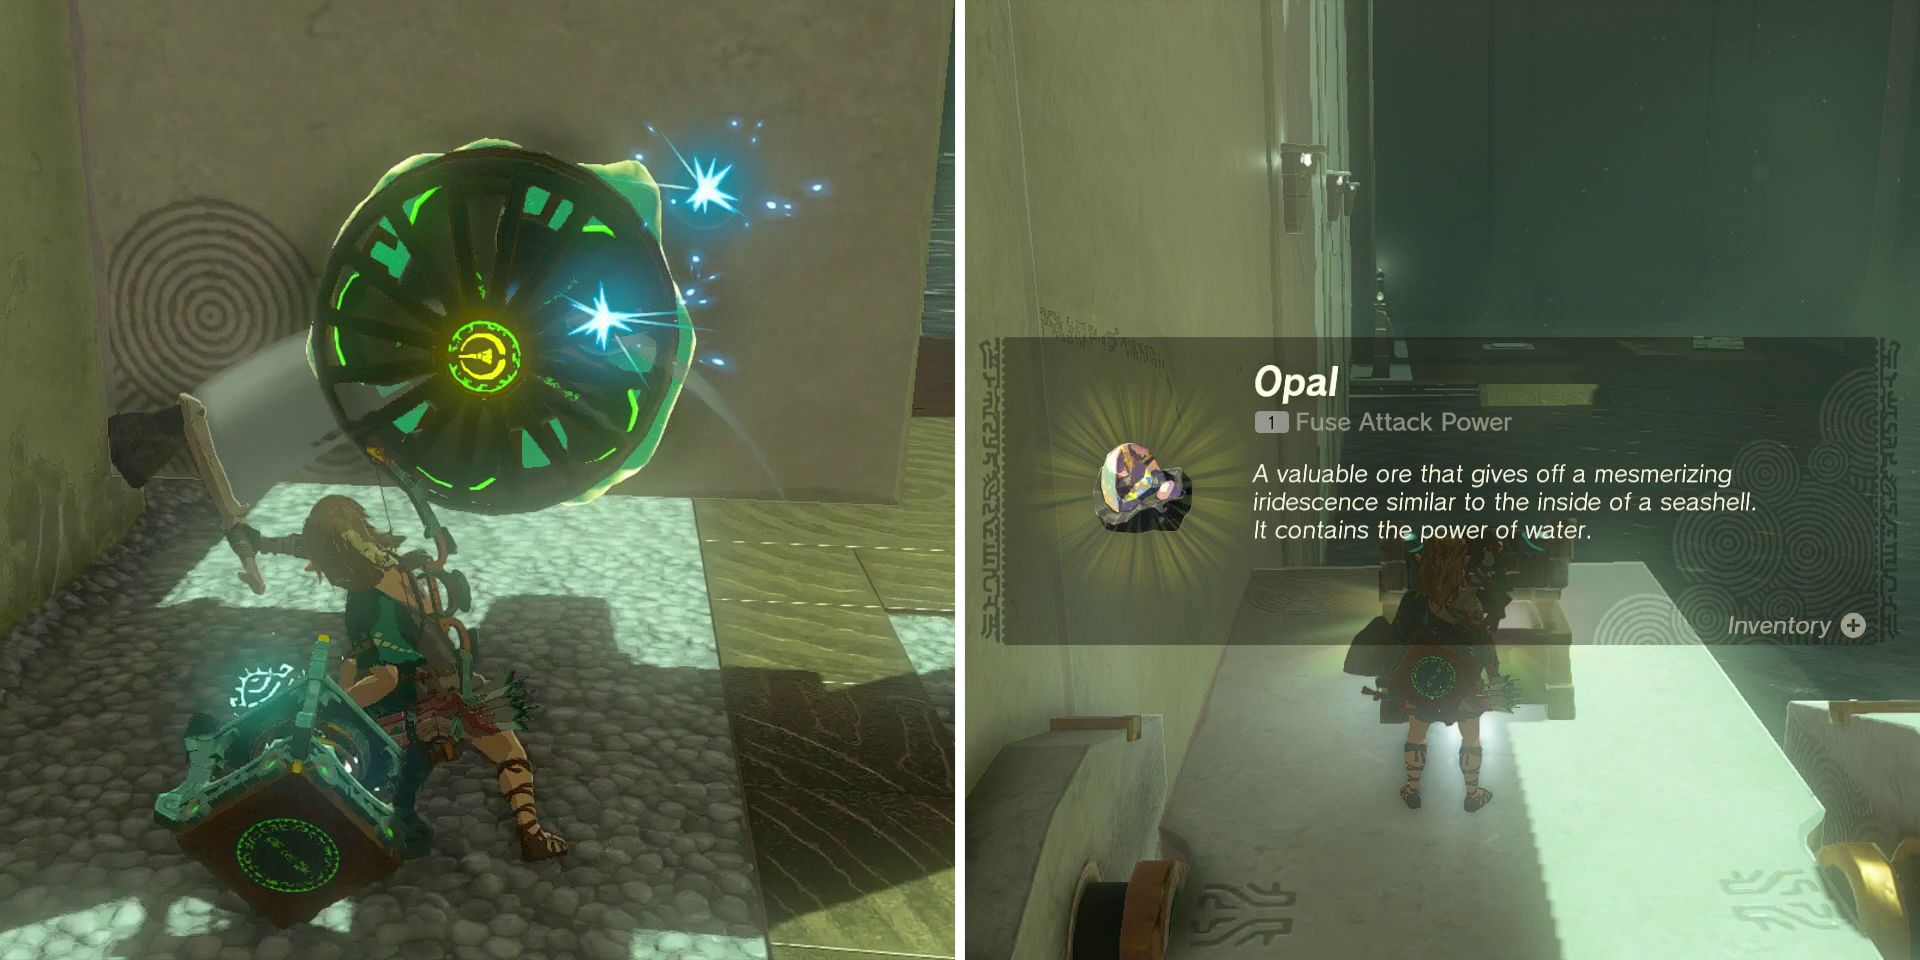
As its "A Windy Device" tagline might suggest, completing the Ishodag Shrine will require the use of fans. In the first chamber, players will simply need to move the fan on the left side of the room to the spot near the far ledge using Link's Ultrahand ability. They should place it flat on the ground facing up, hit it with Link's melee weapon to turn it on, then stand on it, jump, and deploy the Paraglider by pressing X.
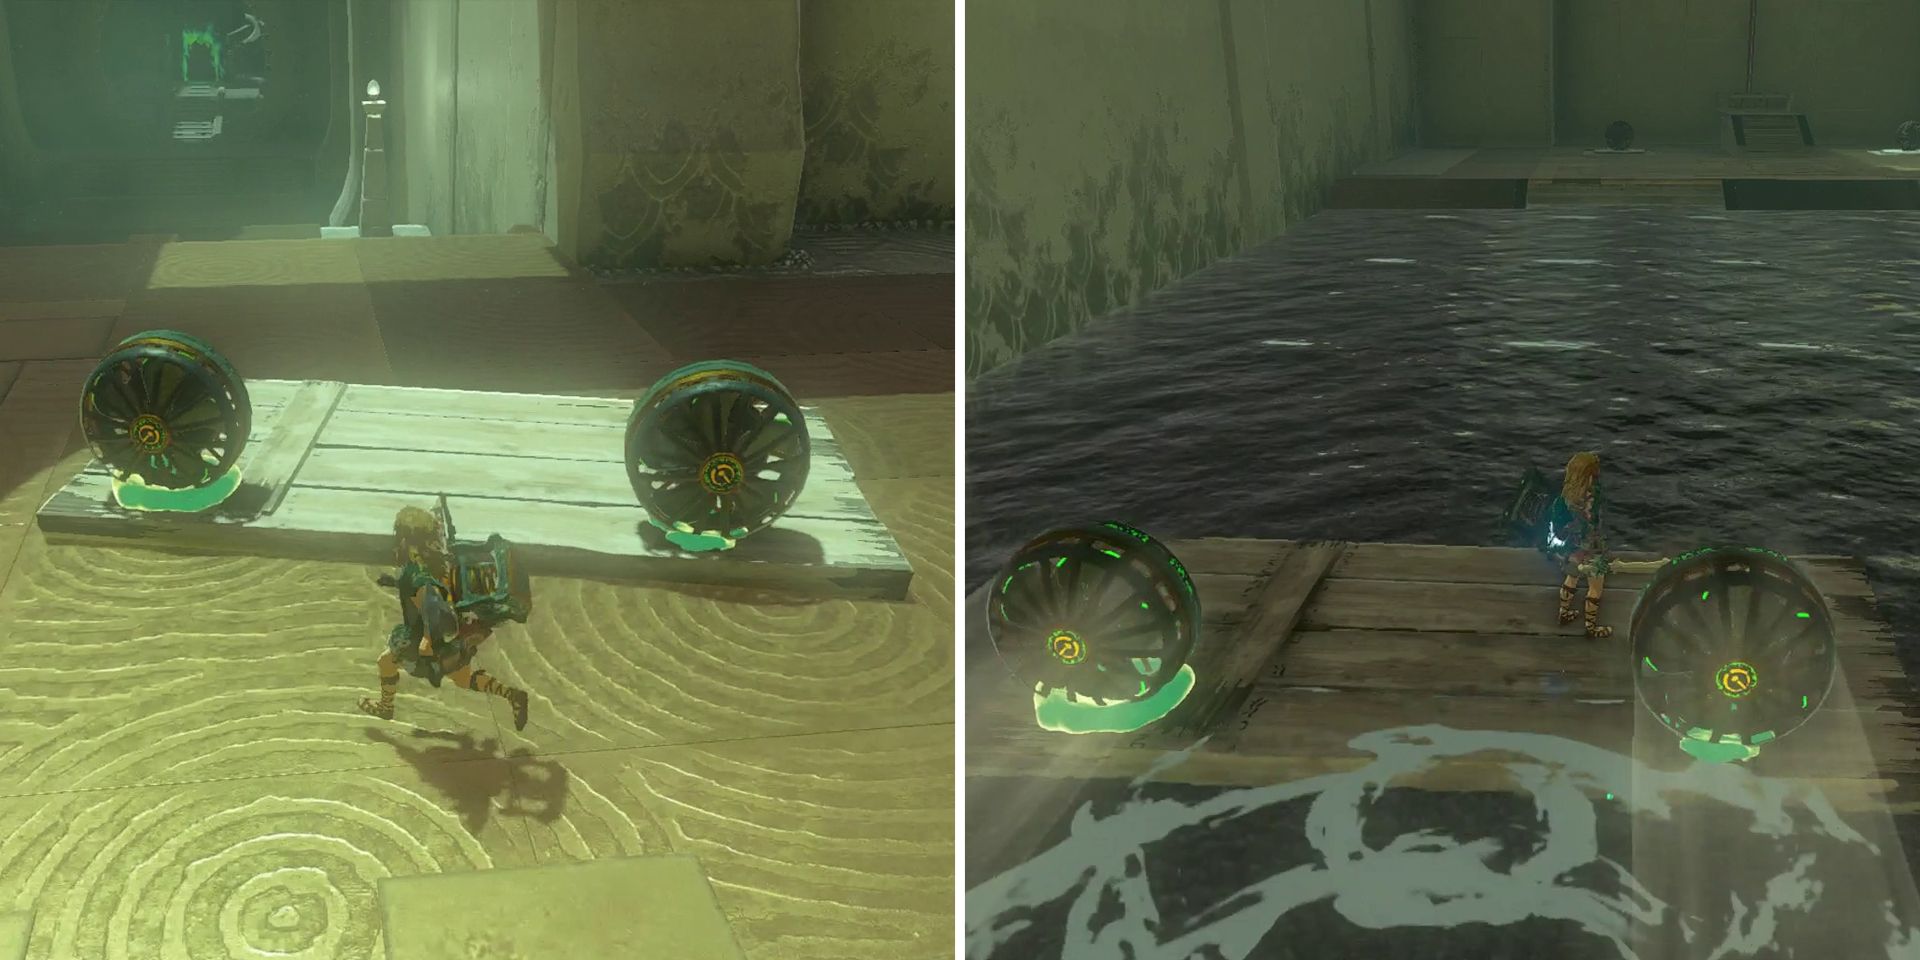
This will allow players to glide to the next area, where they'll again be using fans to progress. This time, though, they'll want to attach the fan to the nearby piece of wood, which can be done by moving it into position with Ultrahand and then pressing the A button to attach it. Players can then move the wood into the water so that the fan is facing backward, hop on board, and activate the fan by hitting it.
After riding their makeshift raft over to the other side, players will want to attach one of the fans to the underside of the rotating white platform beneath where the chest is. Once activated, this fan will cause the platform to remain level even when Link is standing on it. Players can then use Link's Paraglider and the other fan to get on top of the platform, which will allow them to open the chest and claim the Opal inside.
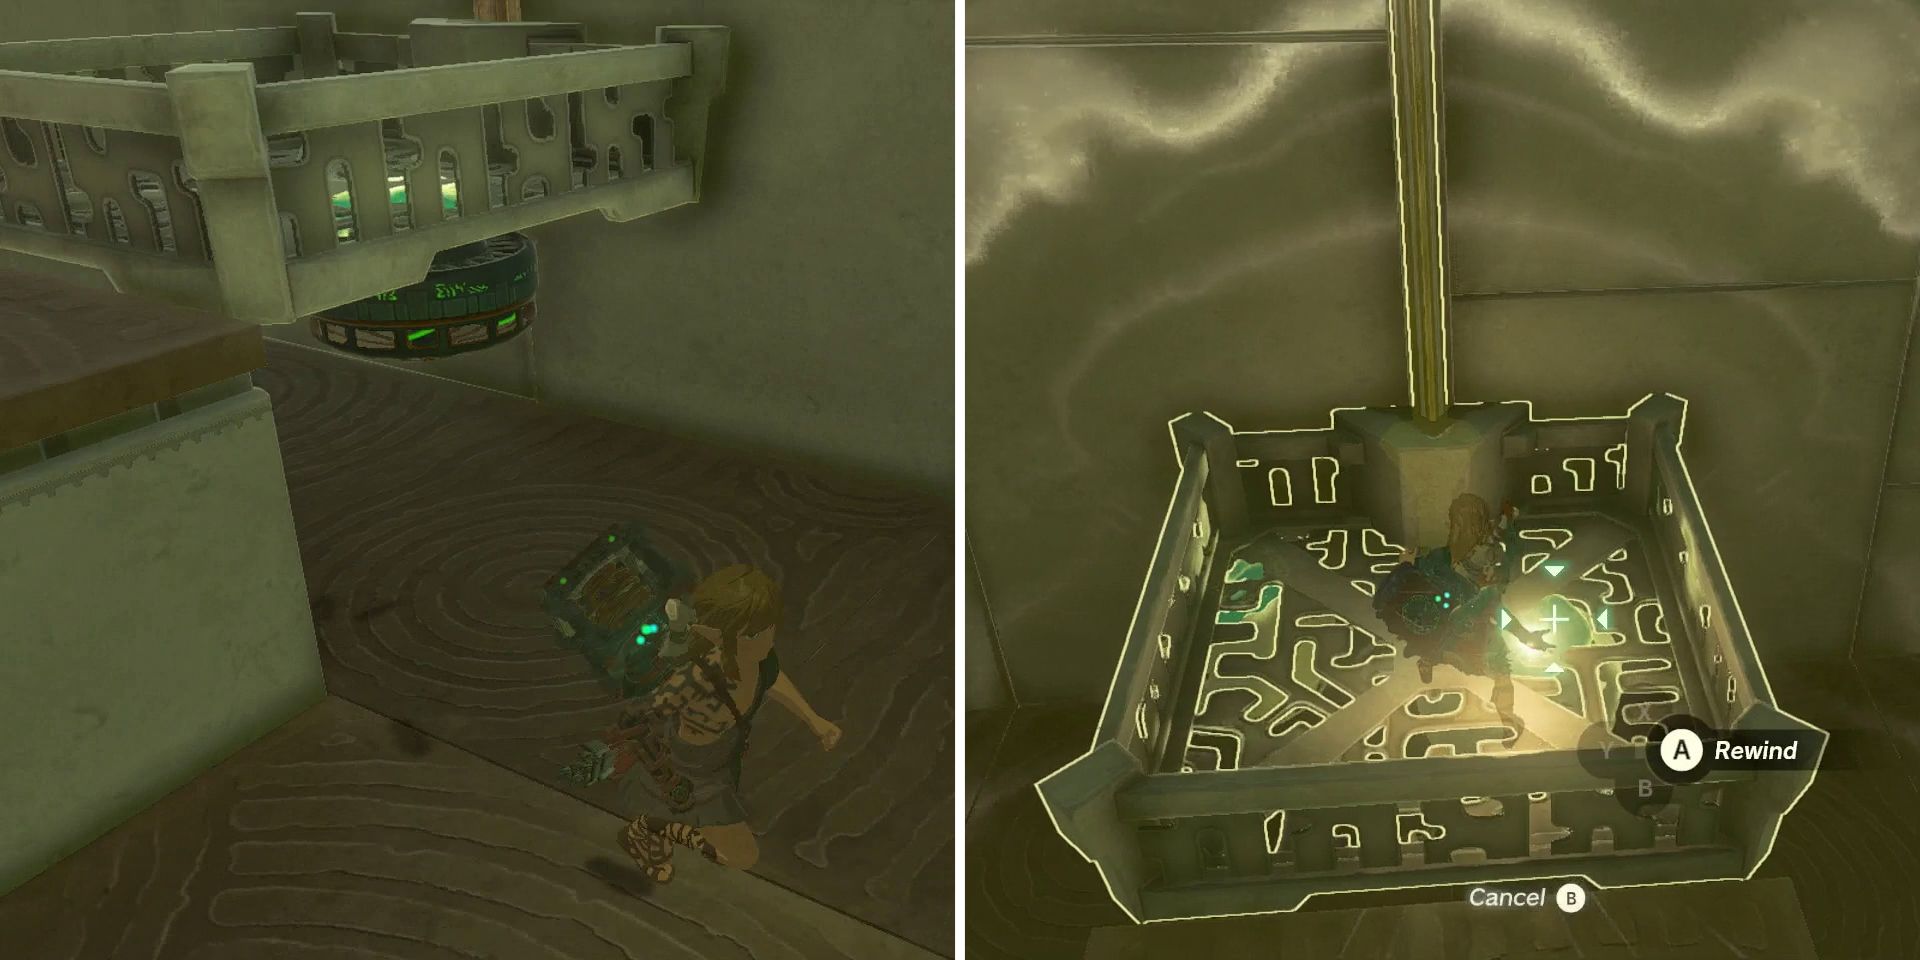
From here, completing the Ishodag Shrine is relatively straightforward. There are a few different methods, but all of them involve attaching a fan to the underside of the nearby elevator. Players can either remote activate the fan using a bomb or activate it with a melee attack, deactivate it with an arrow, and then use Link's Recall ability to rewind the momentum of the elevator and ride it up to the top. Whichever method they choose, players will be able to grab the Light of Blessing and complete Tears of the Kingdom's Ishodag Shrine.
The Legend of Zelda: Tears of the Kingdom is available for the Nintendo Switch.

