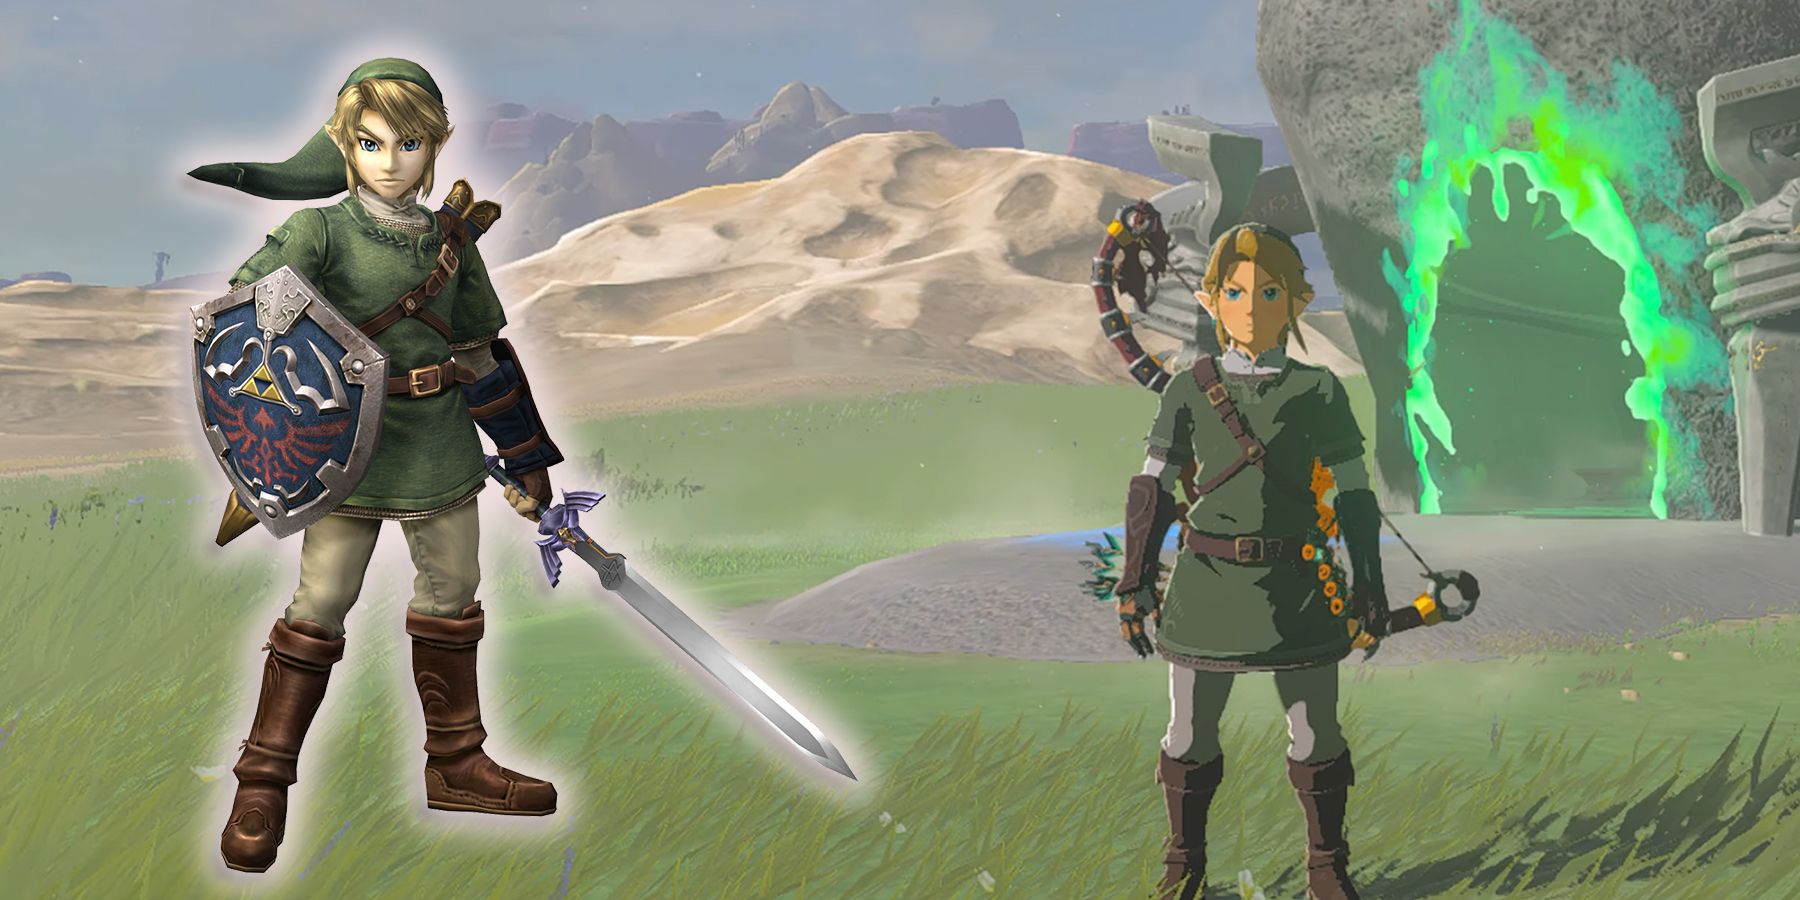
There are over 30+ different Armor Sets in Tears of the Kingdom for Link to steadily collect throughout his adventures in the skies of Hyrule, its Depths, or just on the surface. And, many of these sets are ones that were previously in Breath of the Wild or are cheeky references to other Zelda games, such as the Twilight Set.
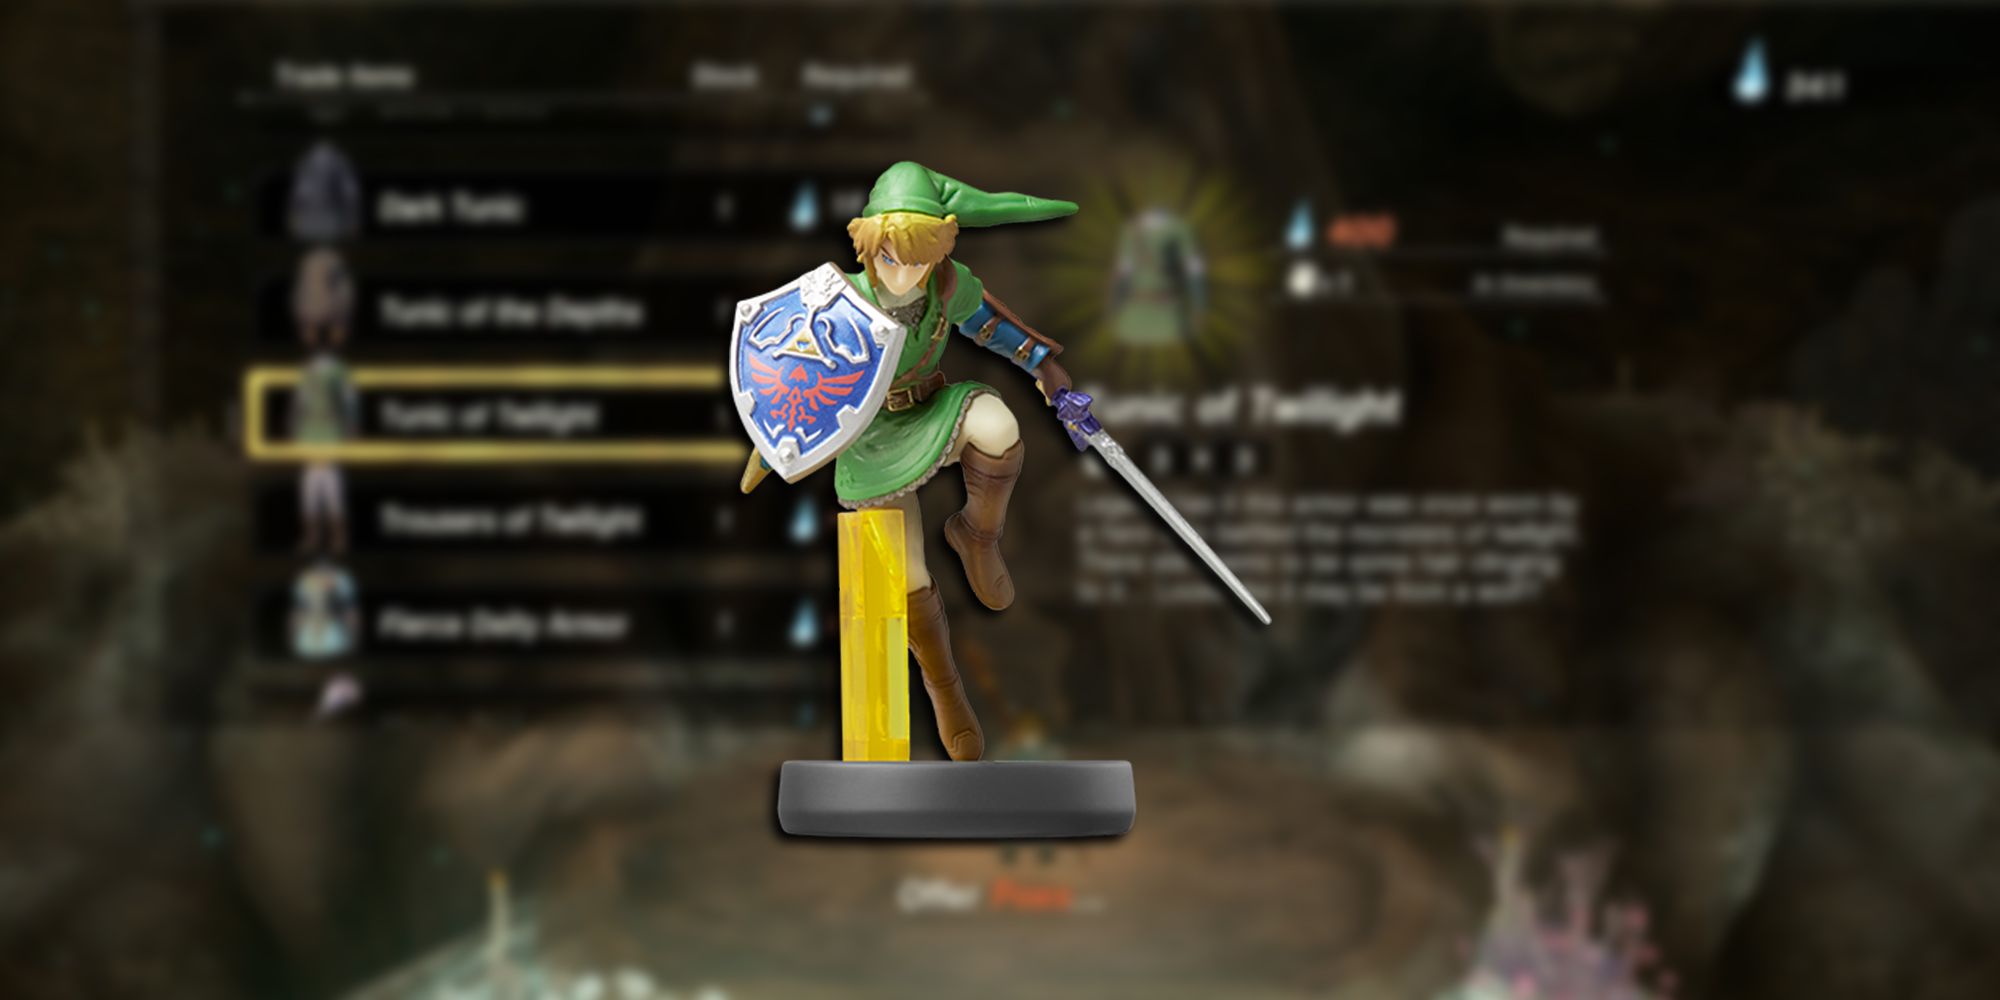
Obviously, this is a nod to Link from Twilight Princess, and all three pieces of this set are relatively spread out across the deadly and dangerous Depths. Thankfully, outside of the easiest method which is using the Super Smash Bros Link Amiibo, there's an in-game method of obtaining the Twilight Set in The Legend of Zelda: Tears of the Kingdom.
Using The Super Smash Bros Link Amiibo
For players who happen to already have a trustworthy collection of Amiibo to use in situations just like this, obtaining the Twilight Set is incredibly easy, but it's a test of patience. Once players first use their Link Amiibo in Tears of the Kingdom, they'll get Epona in-game. After that, they'll need to wait a full day and then use the Amiibo again.
The second time, a chest spawns containing either the Cap, Tunic, or Trousers of the Twilight, with players having to wait until the next day to spawn another chest for the next part and then a third day for the final part of the set. And, it's as easy as that. But, for players who don't have the Amiibo or who want to obtain the set naturally in-game, this time around all of the Amiibo Armor Sets can be found in-game as well.
Tunic Of Twilight Location
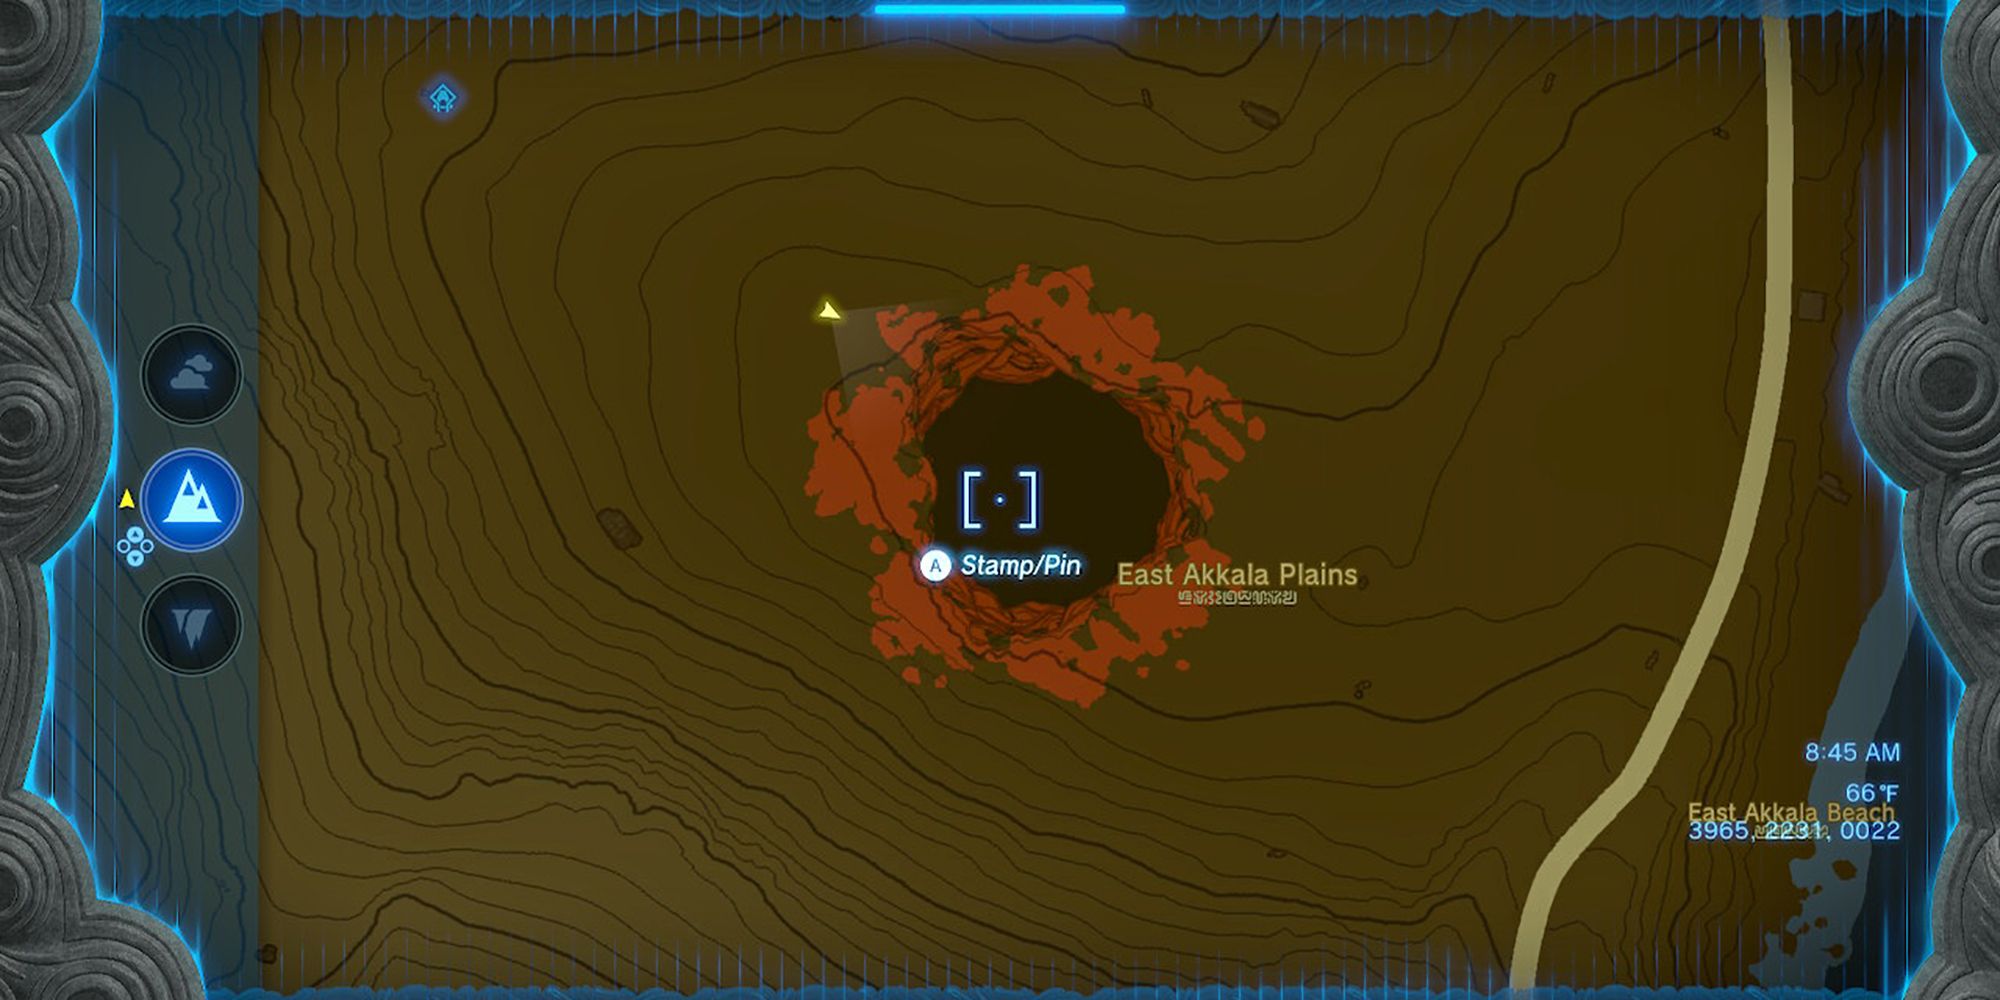

While most of the Depths in Tears of the Kingdom are connected to each other (most of the map mimics the general layout of the map on the surface), it's a lot easier to get to specific areas of the Depths by going topside and jumping down Chasms near the intended location.
To reach the Tunic of Twilight with both speed and ease, players should head to the East Akkala Plains Chasm in the top right of the map. It should be easy to find this Chasm on the map after players activate the nearby Ulri Mountain Skyview Tower, as it is directly to the left of the Rist Peninsula, the winding spiral landmass that sticks out like a sore thumb.
In any case, head to this Chasm, activate either of the two Shrines clearly visible near it, then hop down into the Depths.
Fight (Or Flee From) The Obisidian Frox


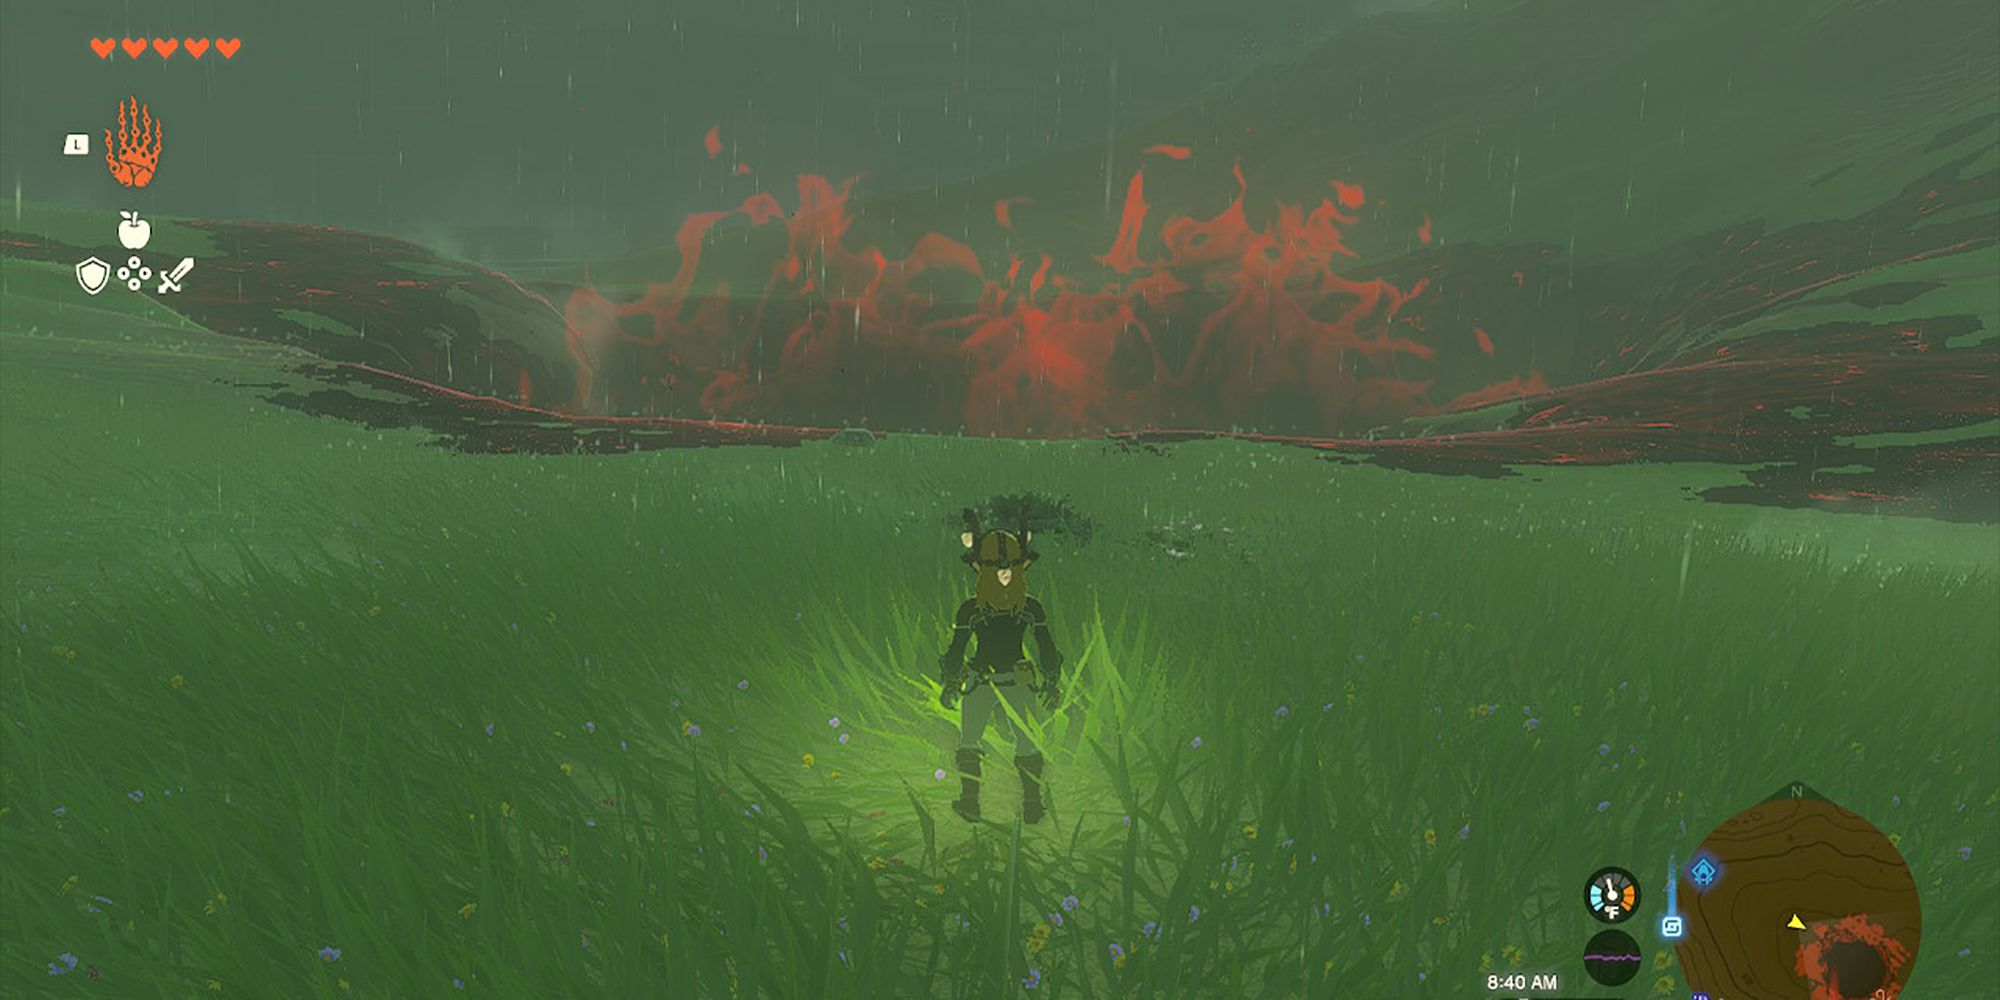
If players dive straight down the Chasm and land directly below it instead of Paragliding in any one direction, they'll be in for a pretty rough welcome. On landing, a health bar should pop up in a very Dark Souls-esque manner to make players aware that they're about to encounter the Obsidian Frox, an elite miniboss variant of Frox that was apparently waiting just below the Chasm.
Now players can absolutely just run away from this encounter and start heading to the southeast as if they were heading to the Rist Peninsula on the surface. But, for those who want to take out the Frox while they have a chance, here's what to do:
- Aim for its eye exclusively, the Frox is basically a combination of a Talus and a Hinox in terms of combat strategy. Hit its eye, climb on its back while it's recovering, and destroy the rock formations on its back.
- Keep to a safe distance always, the Frox has a lot of attacks with a wide AoE and there's no reason to even be close to it unless it's recovering from being shot in the eye.
- Watch out for all the Gloom in this area, as it can be easy to get afflicted with it while sprinting away from the Frox's attacks.
After beating (or escaping) the Obsidian Frox, players really just need to follow the Depths leading to the Rist Peninsula. There's a nearby Lightroot a bit to the northwest of where the Chasm is, but Link can also just use the surface map for reference if that seems a bit out of the way.
Trekking Through The Abandoned Rist Mines


After reaching about the outermost 'curve' of the Rist Peninsula spiral, players should see an Abandoned Rist Mine Entrance guarded by a pack of Bokoblins surrounding a couple of Zonaite Geodes.
Take these little gremlins out, mine the Zonaite, and maybe grab their Rock Hammers too, as there's a lot more mining to be done up ahead. From here, players will enter the Rist Mines, a pretty uneventful long stretch of area. The only things that pop up here are the occasional packs of Little Frox, Stalkoblins, or even Stalmoblins. But, all of these enemies can be pretty easily handled as Stal enemies crumble in a few hits at most and then just need their heads destroyed and Little Frox are basically just free bundles of Zonaite.
The other thing of note with the Rist Mines is the sheer amount of Zonaite it holds. Every 50 or so feet there should be more deposits of Zonaite to break and more Little Frox running up to 'attack' Link. Additionally, there will also be sparse 'clusters' of Zonaite Geodes filling some of the alcoves that players can just throw a Bomb Flower or launch a Cannon shot into and get even more Zonaite from. Just to give a bit of scale as to how much Zonaite is in here, we walked into the Rist Mines with 79 Zonaite and walked out with close to 300.
Actually Finding The Tunic


Finally, after reaching the innermost area of the last curve of the Rist Mines, the Tunic of Twilight is within the player's grasp. First, activate the Kimimeg Lightroot in this chamber, as it'll light up the entirety of the room as well as reveal all of the Rist Peninsula and more on the Depths map. Then, simply look to the northern side of the chamber to see a Chest with a Large Poe (counts for 5) and a Grand Poe (counts for 20) sitting in front of it. Grab these Poes and open the chest to reveal the Tunic of Twilight.
After reading the cheeky bit of item description that's purely there as fanservice to Twilight Princess fans, players will probably want to head and find the rest of the Set Pieces. Just keep this area (and Lightroot) in mind, as ore deposits do respawn, so it's worth returning to this area from time to time for a massive Zonaite refill.
Trousers of the Twilight Location
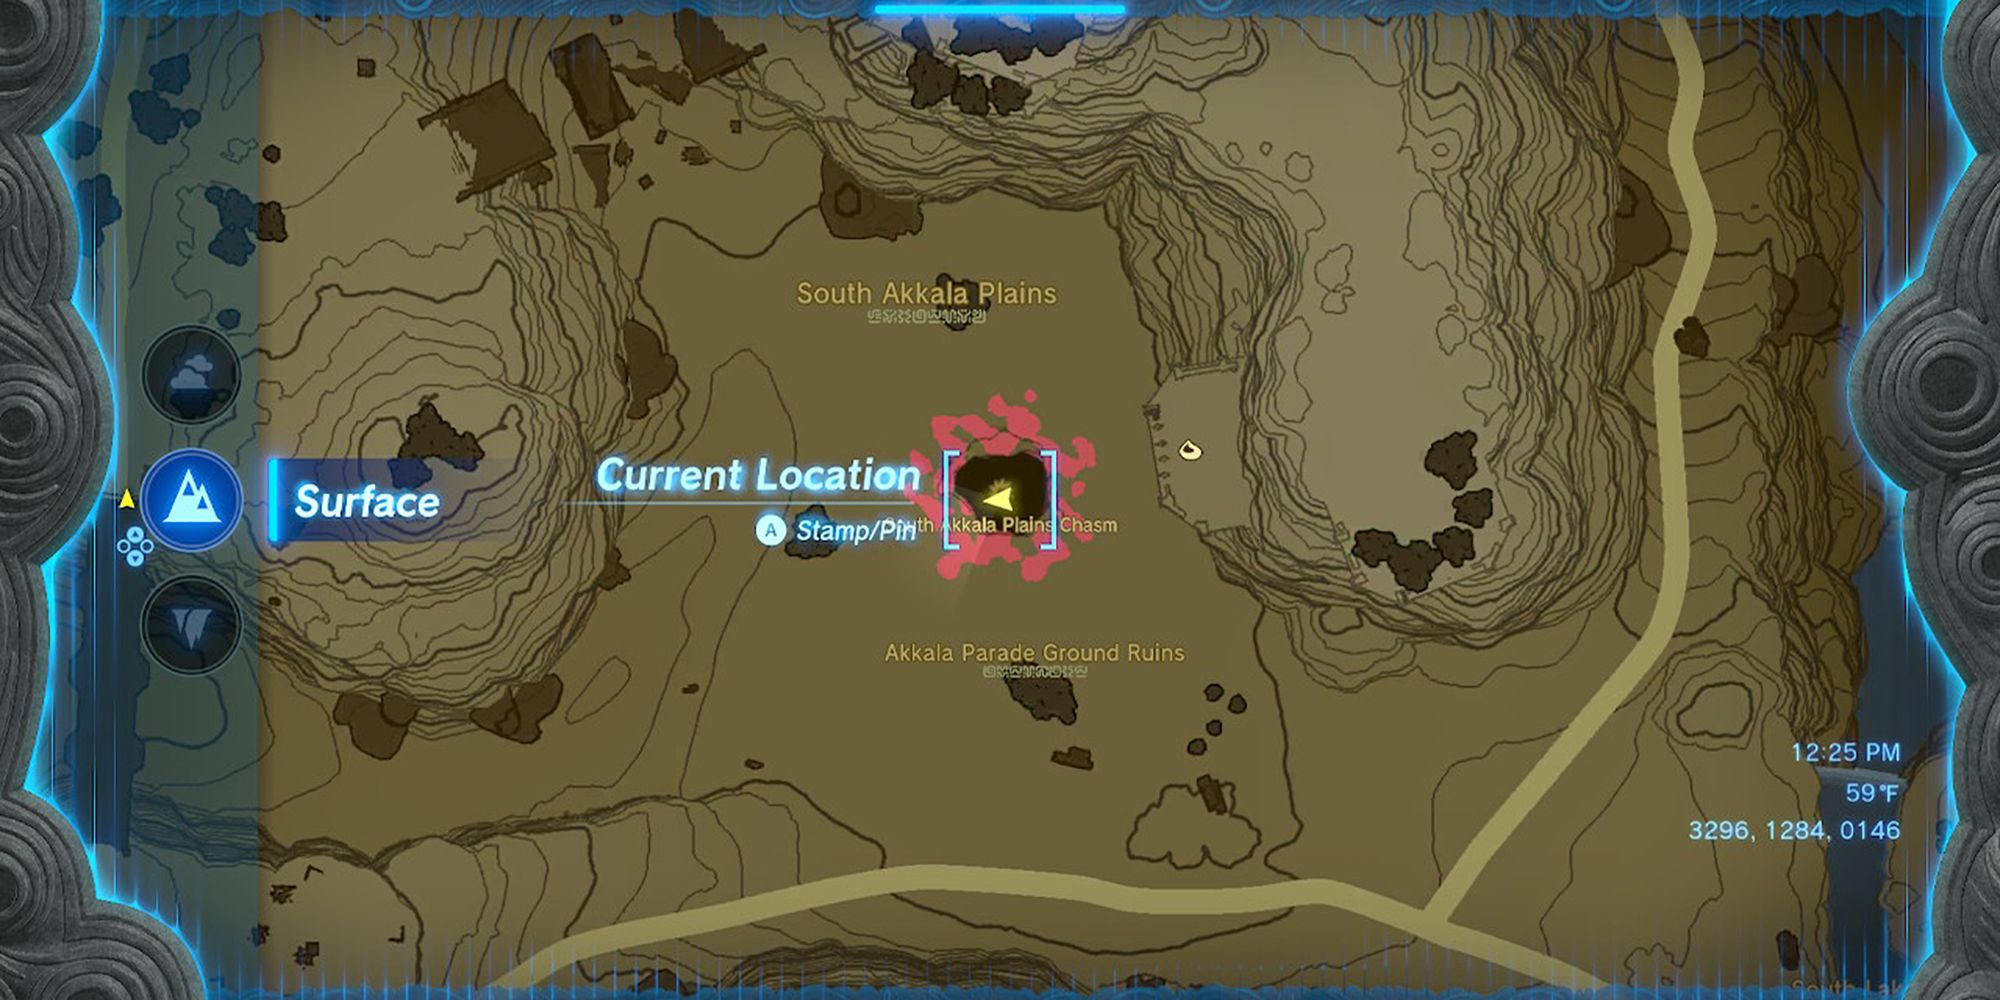
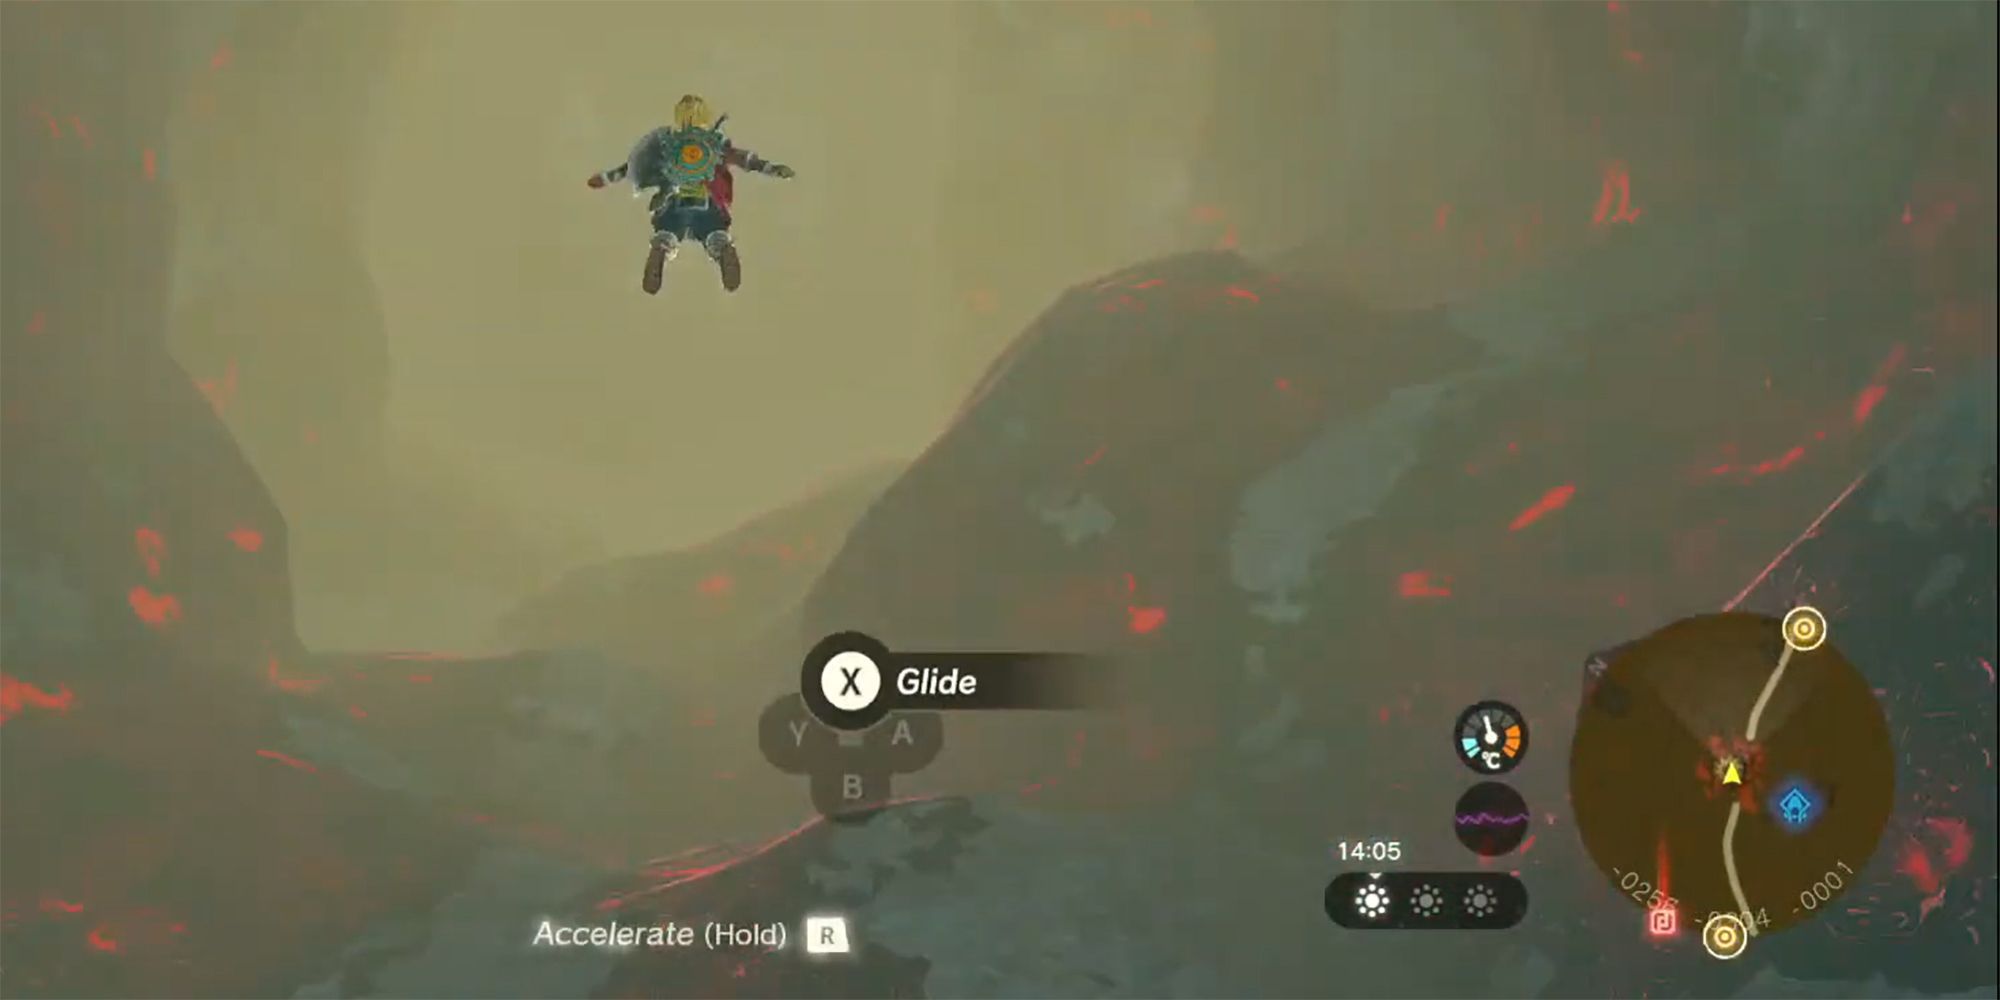
Thankfully, the Trousers of the Twilight require a bit less work than the Tunic and a lot less work than the Cap of the Twilight. To get the Trousers, players just need to head to one of the other Akkala Chasms, the South Akkala Plains to be exact. Hop down the Chasm here (which has a Shrine directly in view nearby), and head north once Link touches the ground of the Depths. Keep heading north until the orange glow of the Niuzimod Lightroot becomes visible and activate it.
Fight (Or Flee) From The Boss Bokoblin & Their Little Bokoblin Minions
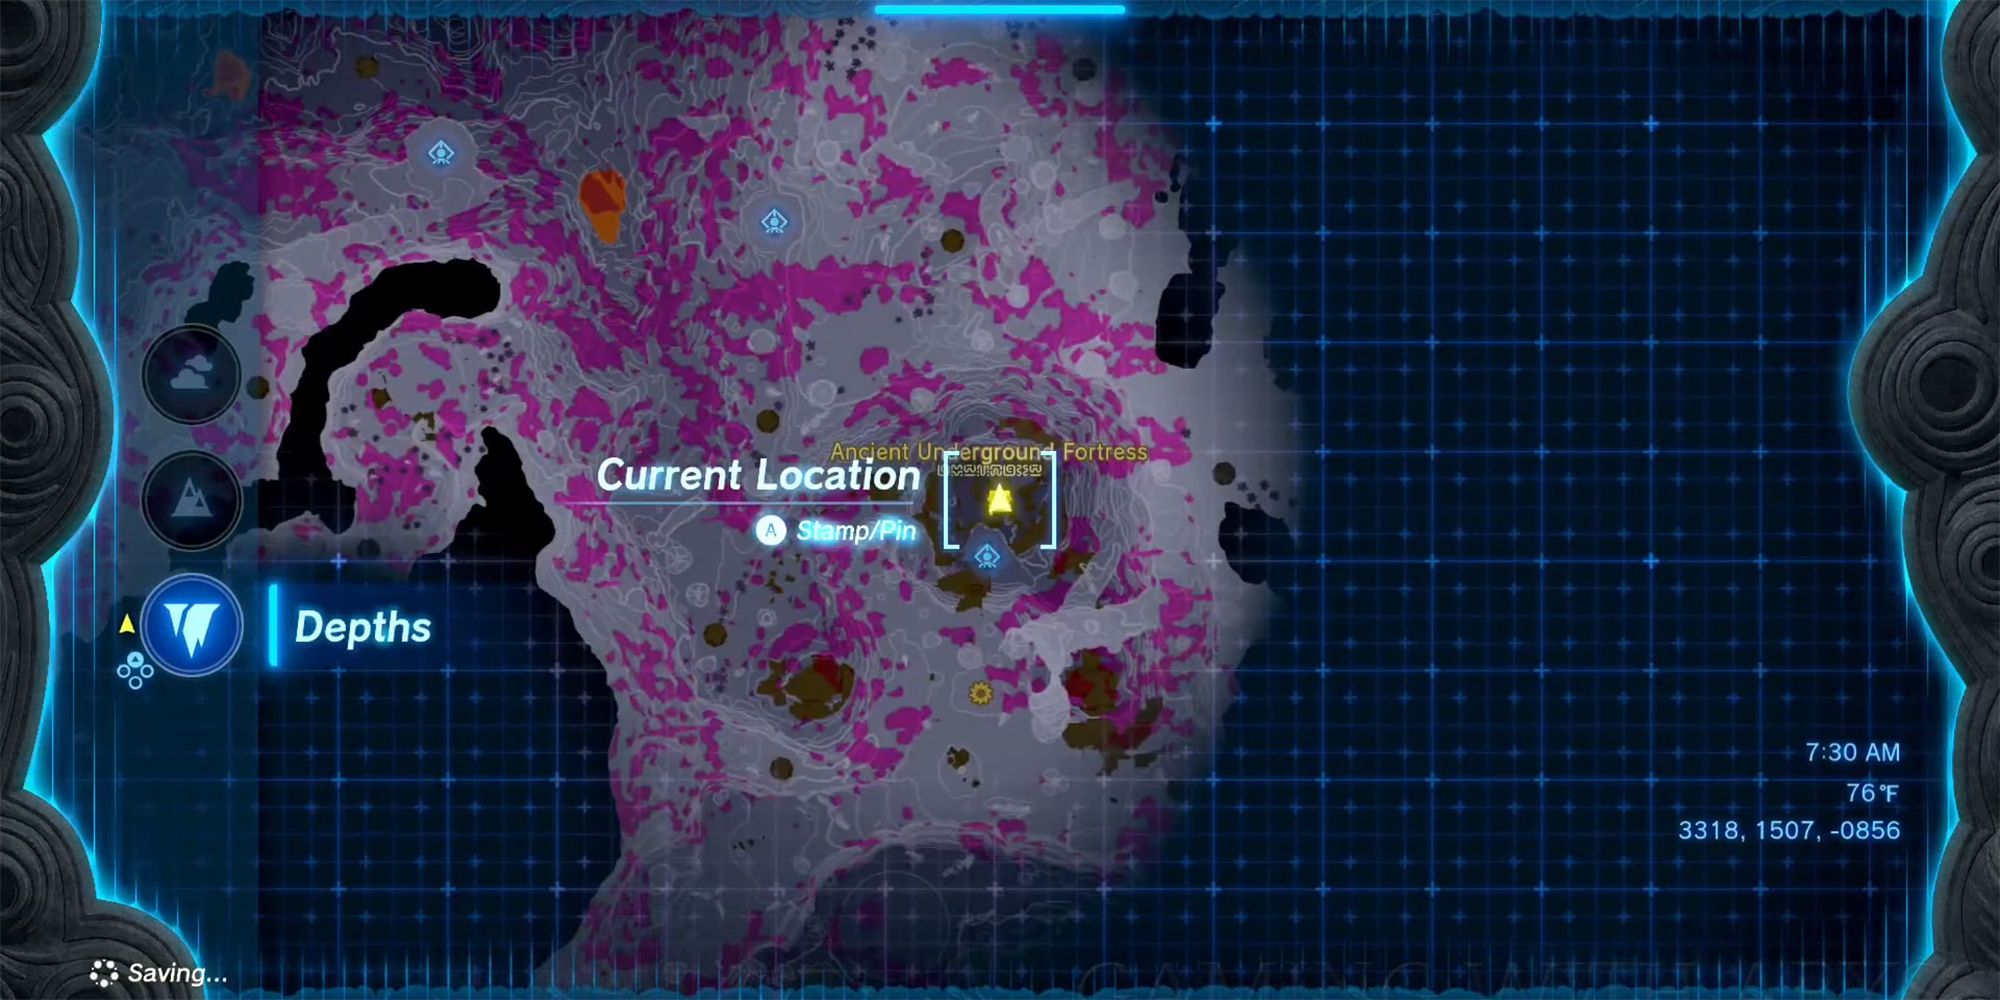

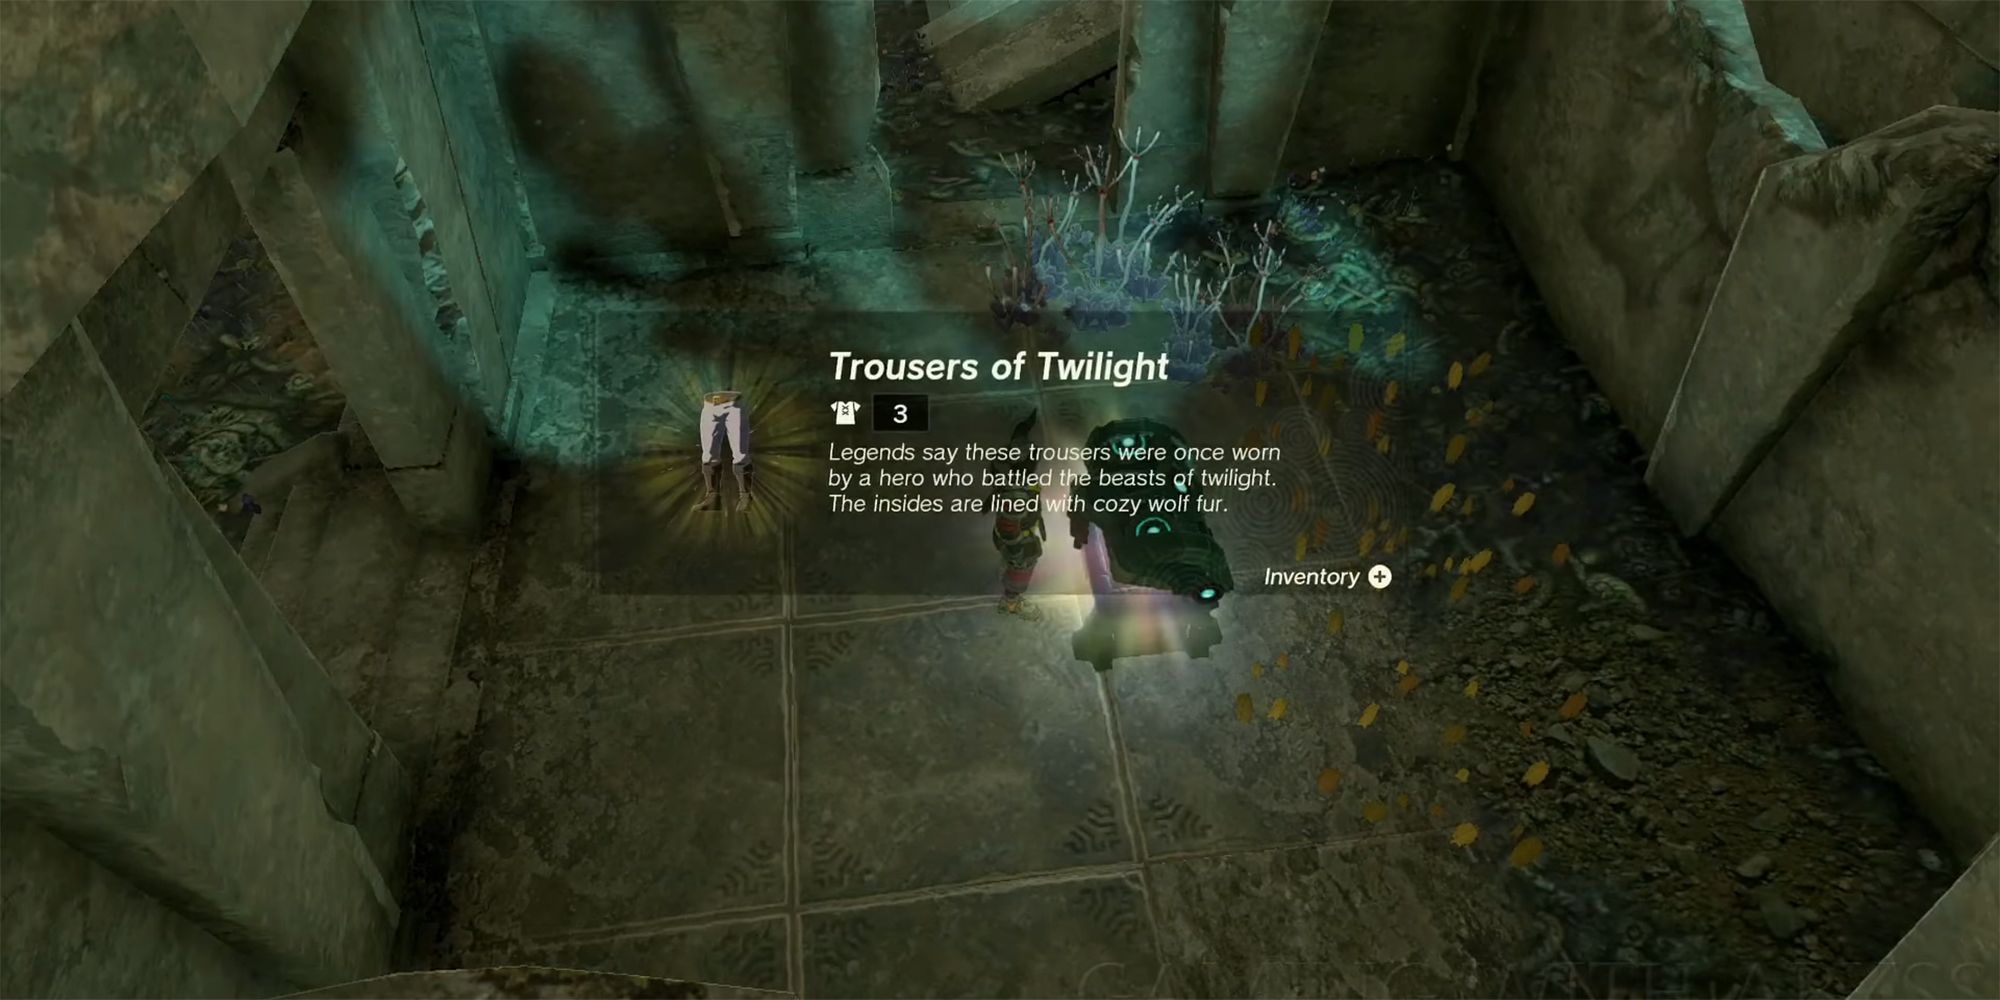
After activating the Lightroot, the Trousers are actually already absurdly close to the player's location. Simply walk forward towards the cliffside leading down into an area called the Ancient Underground Fortress, and look directly downward. Players should see a whole host of Bokoblins (of different colors), as well as a Boss Bokoblin, some Blue Lizalfos, and an Aerocuda or two flying overhead. This may seem like a lot, but Link doesn't actually 'need' to fight all these enemies to get the Trousers of the Twilight. In the first little dilapidated cube/housing area down there, players should see a chest (use Ultrahand to see it more clearly outlined in orange), this is the chest with the Trousers. Simple jump down, open the chest, and teleport or run out of there.
If players want to fight, however, here are a few tips:
- There are a lot of areas to sneak around and hide down here, so players can easily just hide, fire a couple of Muddle Bud-fused Arrows to get the Bokoblins fighting each other, and maybe even send in a Zonai Homing Cart with a Cannon and Construct Head attached.
- The Blue Lizalfos are a lot harder to read in their attacks than some Bokoblins, and they're faster, so it's best to prioritize taking them out first.
- Use the terrain against them, Bokoblins don't climb, they only throw rocks, if it starts getting hairy just climb back up to the Lightroot and poke at them with arrows.
Cap of the Twilight Location


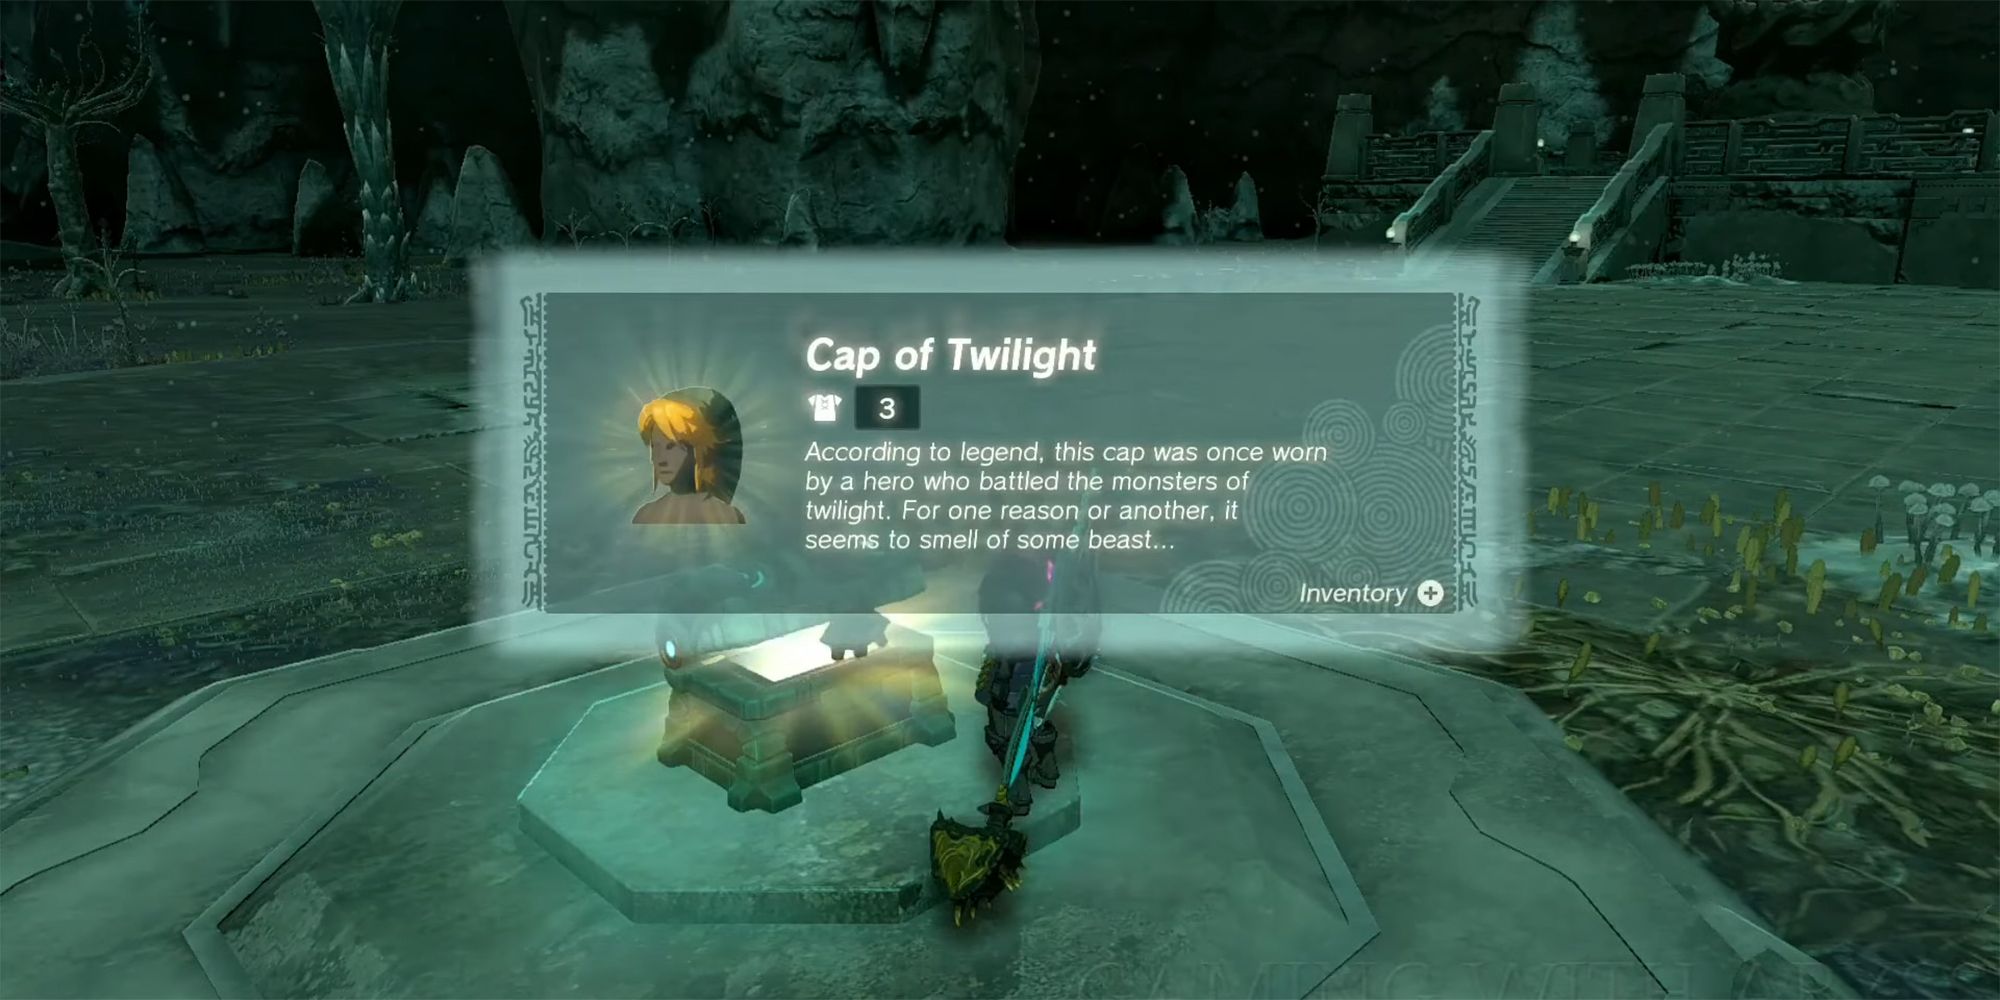
Now, out of all three pieces of the Twilight Set, the Cap of the Twilight is by far the most difficult to get. Sure, it follows the same general procedure of 'go to specific depths area and open chest', but there's a pre-requisite for this one. Where players could run away from the Obsidian Frox for the Tunic and the Boss Bokoblin for the Trousers, there's no avoiding King Gleeok. First off, to get to the Gleeok Den where the Cap is located, players should head to the Depth Chasm to the west of the Typhlo Ruins Skyview Tower.
Jump down the Chasm, and there should be another Obsidian Frox waiting for the player, similar to how it was with the Twilight Tunic. Players can either fight the Frox or run away, but if they run, make sure to run to the north. There are Lightroots around this area that players can activate to make it a bit easier to tell where they're going, but all three possible Lightroots are a bit far from the landing spot. There's one to the north, one to the southeast, and one to the southwest. In any case, players just need to head north and look for a small valley that leads into an even larger square-shaped valley called the Gleeok Den. Players should notice that this is directly underneath the Typhlo Ruins as well, so they can use that as a guide if their Depth map isn't revealed yet.
Once Link enters the arena, the chest should be in sight in the center, though it's surrounded by the same 'Gloom Energy' that fizzles off of Link whenever he gets a Light Blessing or a new upgrade. This energy means the chest is inaccessible, and that Gloom only disappears after defeating the three-headed dragon flying above.
King Gleeok Tips

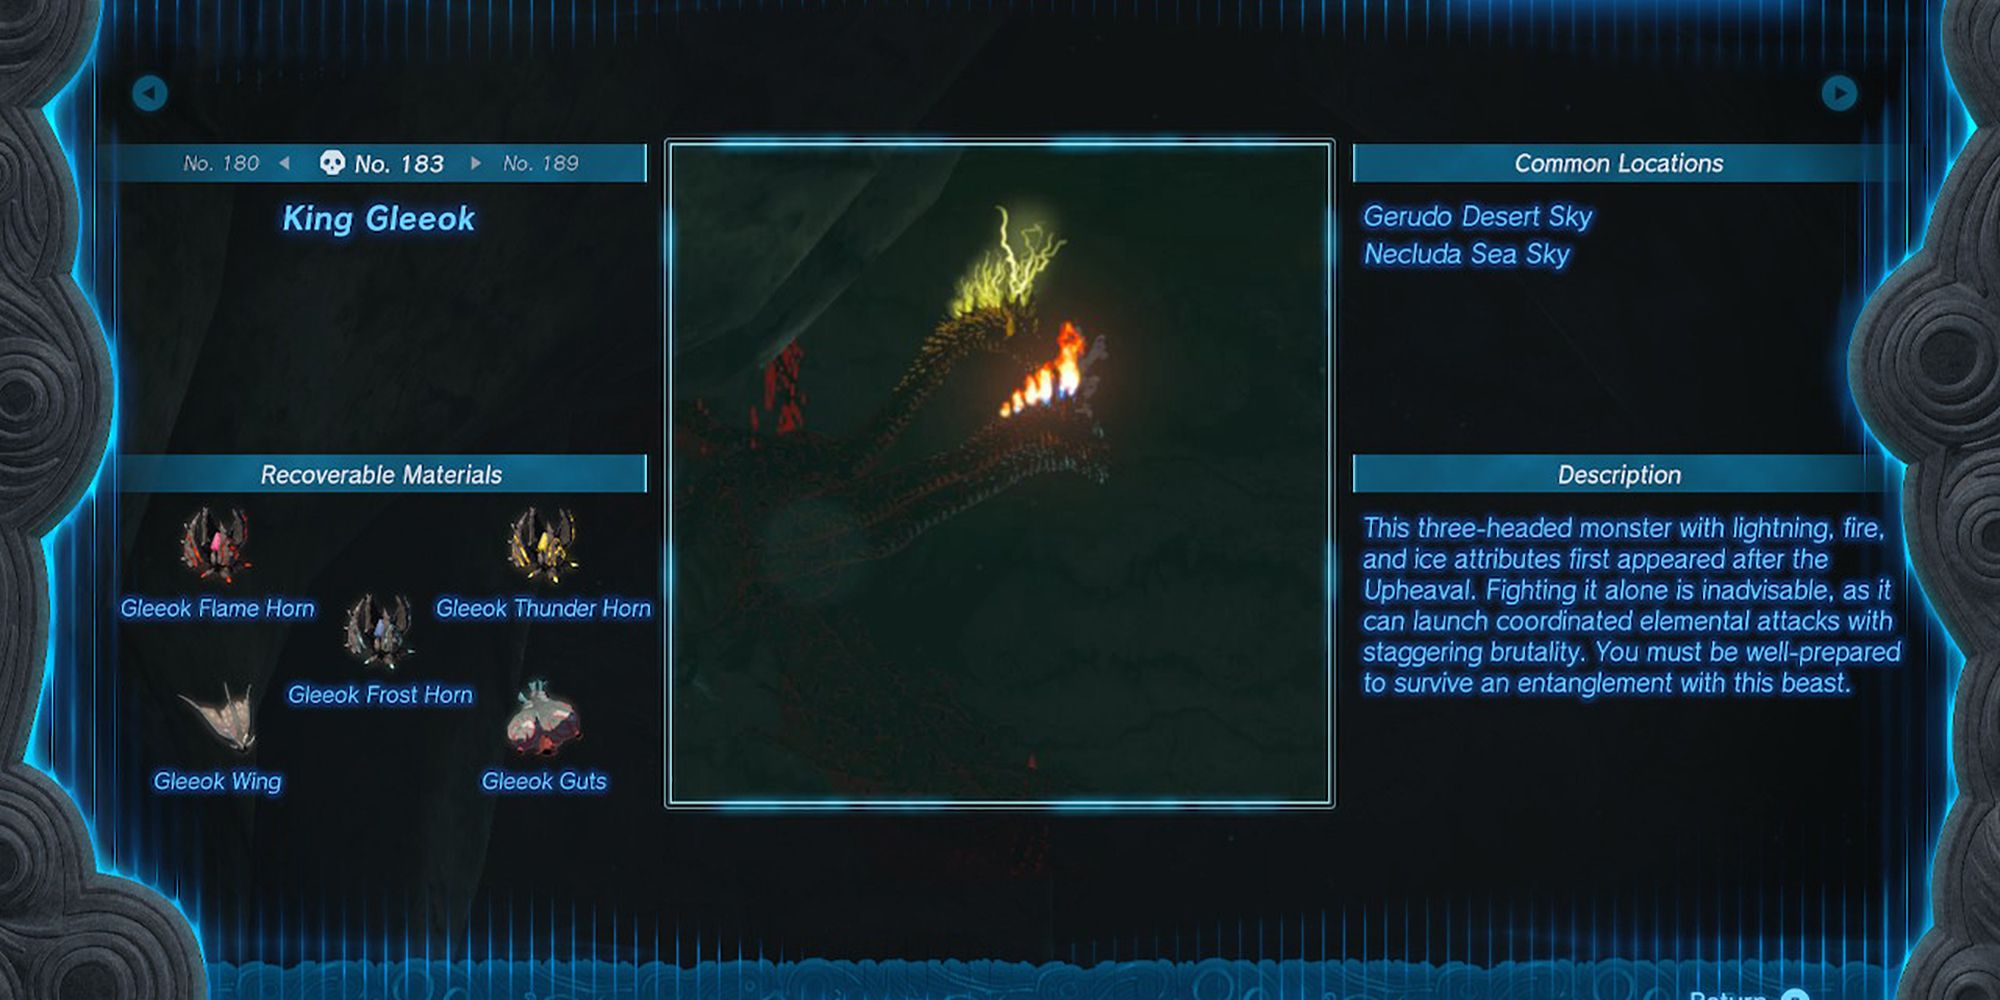

Quite honestly, the Gleeok (who people forget are enemies that are not new to the franchise) are some of the most threatening enemies in Tears of the Kingdom, and this is the king of all of them (well technically one of the kings, as there are four King Gleeok across the skies and depths of Hyrule). King Gleeok not only is infused with Gloom Energy, making it stronger, but each of its 3 heads specializes in a different element of fire, ice, or electricity.
Frankly, these things are meant to be some of the latest end-game challenges players manage to overcome. So those who come into this fight without knowing the attack patterns, what happens in phase two, without enough arrows, or not equipped with all sorts of Meals, Elixirs, and Zonai Devices...are just simply in for a really bad time. But, for those who still stubbornly want to overcome King Gleeok early with their meager 6 or so Heart Containers and claim the Cap of the Twilight, there are some strategies to keep in mind.
Final Note: All Armor Pieces can also be purchased at the Bargainer Statue in the Great Abandoned Mine in the Depths as long as players obtained each piece previously. This is just in case players sell their Armor Pieces and want them back later or if they want another version to dye. Keep in mind, however, that each one has an incredibly hefty Poe currency cost.
The Legend of Zelda: Tears of the Kingdom is available now on Switch.

